
'Learn about Fiber Cement Siding' Articles


EXPLORE SIDING COLORS


SIDING PRODUCTS
COMMERCIAL SIDING


Installing Fiber Cement Siding
Fiber cement siding installation should be done by trained professionals with proper tools or your warranty could be voided and your home both structurally and aesthetically compromised.
Your siding system needs to be installed with care, detail, and expert knowledge so it is 100% watertight to avoid moisture, mold, and insulation issues. A lot can go wrong when installing siding and it's a big reason so many siding warranties are voided.
We recommend you use a siding specialist, read reviews, and hire a reputable person or company instead of undertaking a DIY installation.
If you still chose to install siding on your own, follow the instructions of the manufacturer to the letter.
An Excerpt from James Hardie® Warranty
"This Limited Warranty does not cover damage or defects resulting from or in any way attributable to: (a) The improper storage, shipping, handling or installation of the Product (including, without limitation, failure of the Product to be installed in strict compliance with the Conditions of Limited Warranty set forth in Section 4(b) of this Limited Warranty) and/or improper installation of studs or other accessories."
But first things first!
Why should you install fiber cement siding in the first place?
Reasons for Installing Fiber Cement Siding
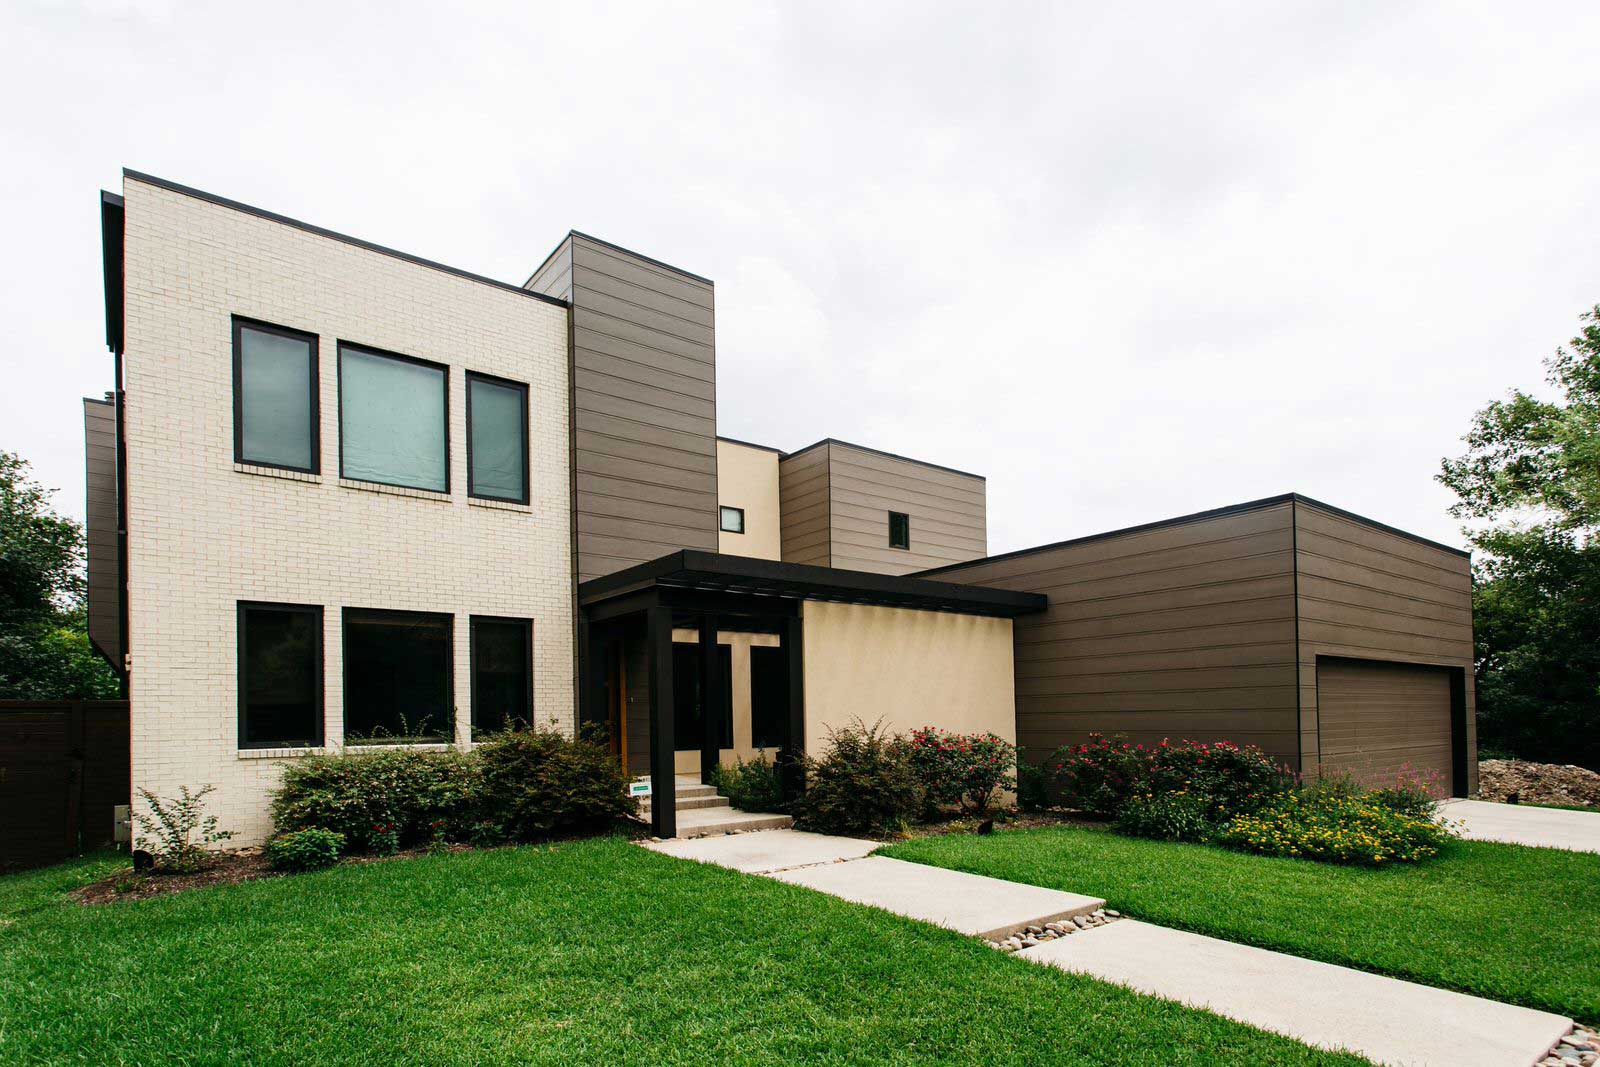
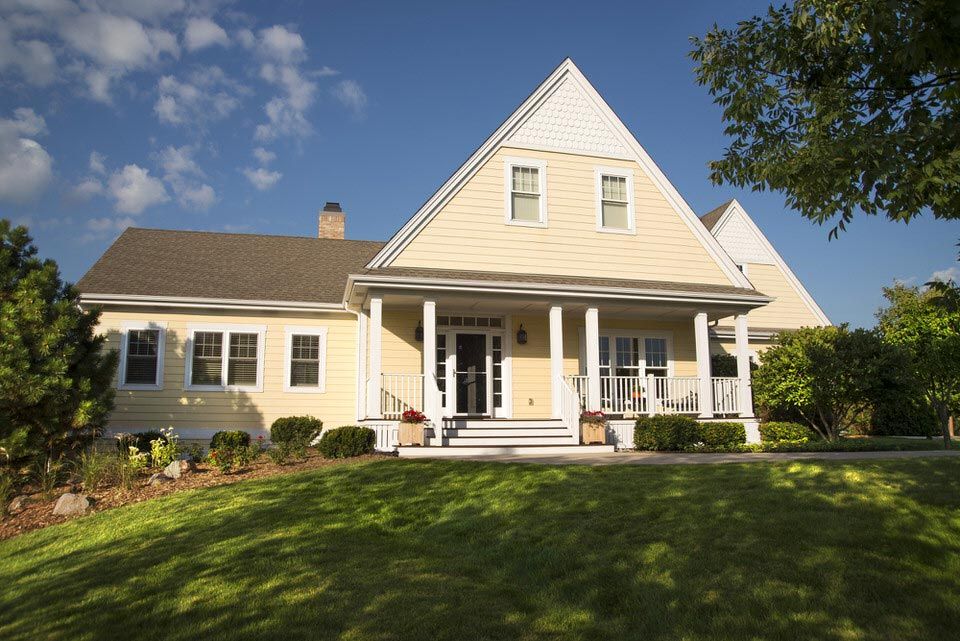
The unique composition of fiber cement siding (made up of wood fiber, cement, and other additives) provides fiber cement siding with numerous benefits.
The most notable include:
Durability: According to the Minnesota Sustainable Housing Initiative, Fiber Cement Siding can have a 50+ year lifespan depending on care and maintenance.
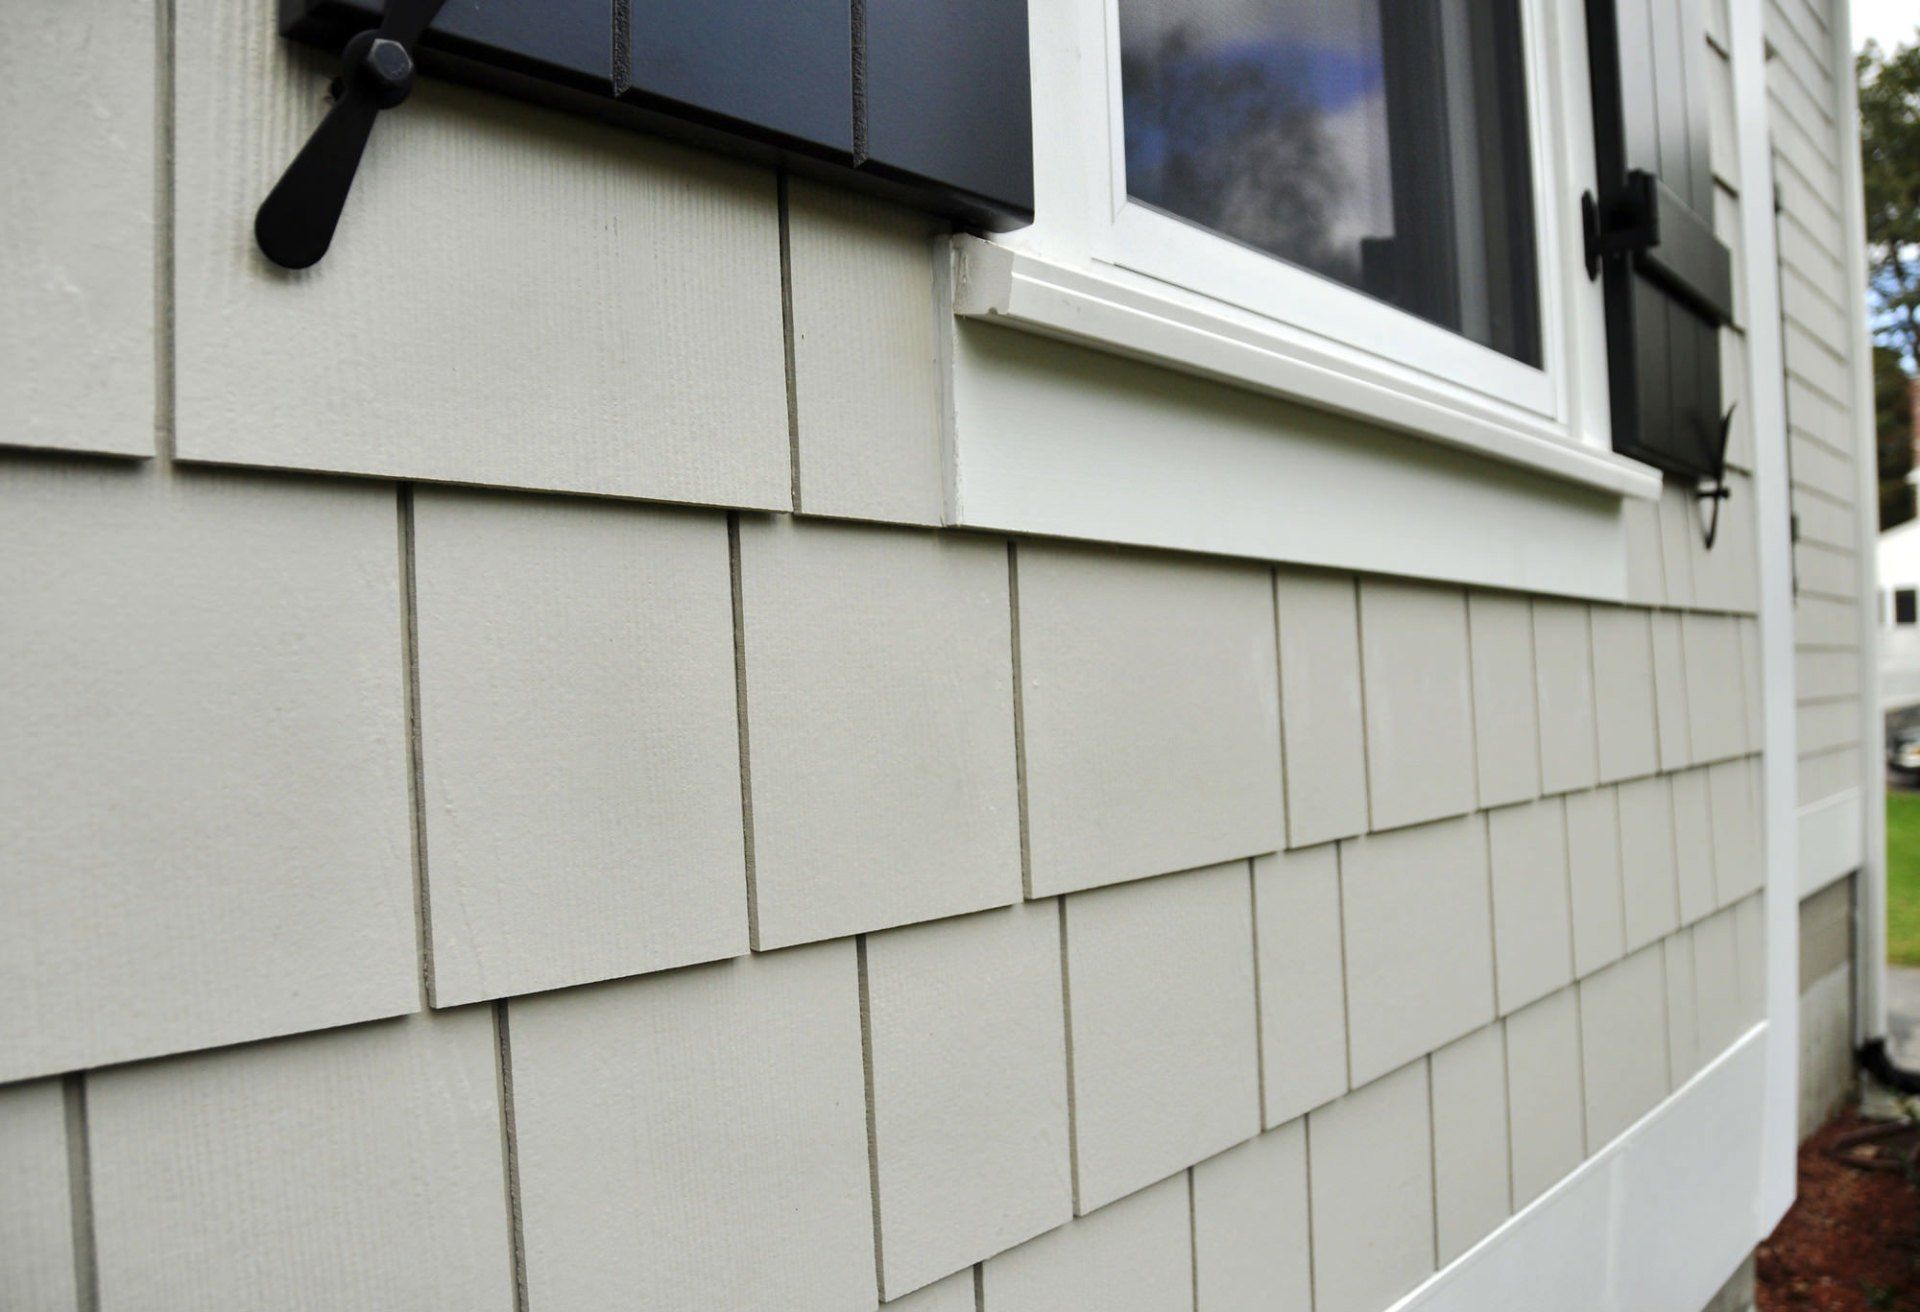
Resistance: Fiber cement siding is fire resistant, impact resistant against most hail, insect and rodent resistant and moisture resistant Style versatility: Countless colors, varieties, shapes, and installation types to choose from.
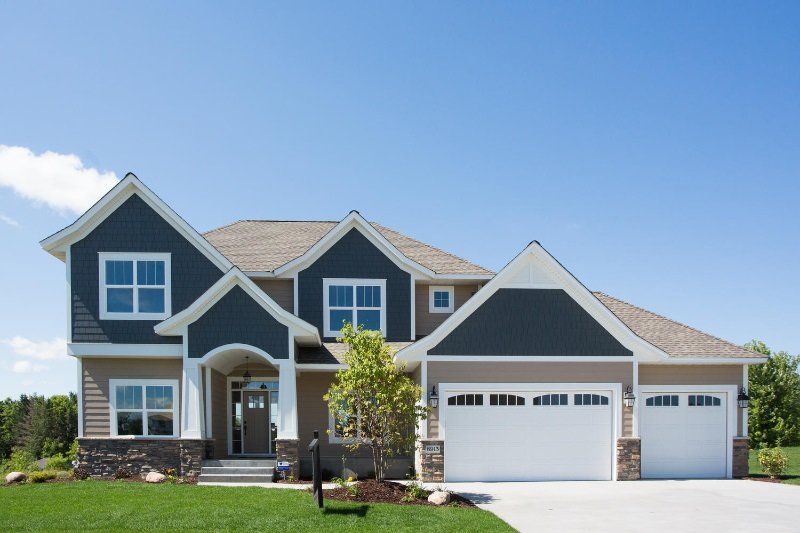
Increased property value: Fiber cement siding boosts curb appeal and ROI (return on investment).
Minimal maintenance: Fiber cement requires very little to no maintenance. Make sure to follow the simple maintenance guidelines set out by James Hardie® .
Great warranty: Reputable brands like James Hardie® come with long warranties (Look at the HZ10 warranties for Texas.)
Tested and proven: Fiber cement siding has been around for 100 years.
Cheaper than wood: Costs less than most exterior grade wood but lasts longer with little to no maintenance
Fiber Cement Siding Installation Guide
While fiber cement siding comes with many benefits, you must get the installation right.
Besides compromising the final look, you risk voiding your warranty should you try to install James Hardie® fiber cement siding among other sidings yourself without following the installation procedures to the letter. You’ll also waste time through trial & error and spend more if you damage your siding.
Important: installation instructions can vary depending on the cement siding manufacturer. You may also need to consult a local building inspector just in case there are any code requirements.
Step 1: Take Safety Precautions
You need safety gear to install fiber cement siding safely including glasses, respirators and specialty saw blades.
You'll need protective eyewear to cover your eyes when cutting and nailing the siding and ear protection when cutting the siding using a circular saw. You also need a mask (NIOSH-approved N-95 mask) to protect you from the dust produced when cutting fiber cement siding. This is in line with the 2016 OSHA guidelines update on controlling respirable silica dust exposure.
Here’s a video illustration of OSHA Silica compliance while cutting fiber cement siding. HEPA vacuums to collect silica dust are more commonly seen on commercial job sites
Fiber Cement Siding vs Vinyl Siding: Comparison Factors
1. Colors and Styles
Both vinyl and fiber cement siding are available in a wide range of colors. However, fiber cement offers the best variety of colors and styles. The siding can also be repainted easily. It’s also possible to find fiber cement siding that isn’t primed or painted. This allows more versatility if you prefer custom colors.
While vinyl siding may appear cheap to buy, it’s not. You must spend considerably to get good vinyl siding. The cheapest siding isn’t the best. It’s usually thinner (about 0.040) and limited in regards to color and style. When selecting the best-of-the-best siding in regards to colors and styles, there’s very little difference in cost.
Step 2: Inspect Siding
You will want to visually inspect your siding planks, panels, or trim, before installing it on your home.
Siding should be stored flat/supported in a dry place off the ground. While the best siding (such as Hardie® siding) does a great job wicking moisture when installed on the wall, it can absorb water and shrink and/or stain when uncovered and flat on the ground.
The siding must be covered using waterproof tarps in case it rains as the packaging isn't waterproof.
When handling the siding, carry the pieces carefully so they are not bending or flopping under their own weight. The siding should also be supported along the length when cutting to avoid breaking.
Step 3: Prep Your Walls
Sheath your walls with foam, plywood, oriented strand board (OSB), and water-resistant protective barriers like a rainscreen and then cover the sheathing using felt paper or house wrap. Mark the stud location using pop chalk lines when not using a structural sheathing like OSB or plywood.
James Hardie® :
Irregularities and unevenness in framing, sheathing, foam and other wall assembly components, including under driven nails, can telegraph through to the finished siding and trim. These irregularities should be corrected before the siding is installed.d.
Step 4: Cut the Siding
You can cut fiber cement siding in many ways. The most common way is using circular saws. While this method is fast and accurate, it produces a lot of dust so you will need a well ventilated area.
James Hardie® advises:
“Set up cutting tables or workstations in well ventilated outdoor areas, downwind from other workers.”
You'll need a special blade to cut fiber cement siding.
James Hardie® says:
“Traditional blades that are not designed for cutting James Hardie® products may generate excessive dust, cut slowly, or exhibit premature wear.”
James Hardie® makes a special, and appropriate blade, called the Hardie® Blade®.
When making right-angle cuts, use a rafter square. When cutting similar pieces, you can stack several pieces and cut them together.
If you want to make curves and holes on the siding, use a jigsaw fitted with a carbide-coated blade. For smooth cuts, cut the siding from the back. Fiber cement shears can be used to make both curved and straight cuts. You can also convert a regular electric drill into a fiber cement siding shear using a special attachment.
There are other cutting methods you can use like scoring. However, the cuts won’t be as smooth as other methods discussed above.
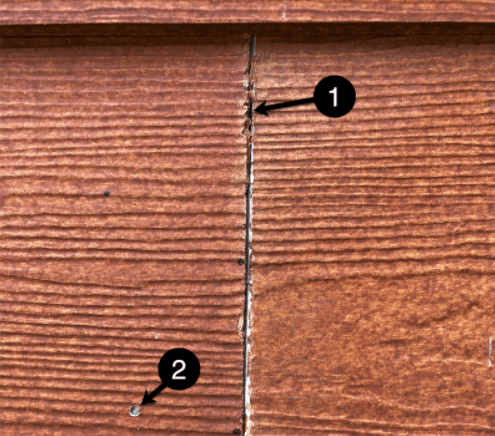
What Happens If You Use the Improper Blade or a Dull Blade?
You get jagged cuts like this that damage your fiber cement boards. As an aside, you can see the wrong nail type was used and driven too deeply into the plank. The installer should have used a siding nail not a finishing nail.
The overdriven nail is less critical because it does not structurally affect the house; however, a professional will pay attention to details like this and do a fine job.
Step 5: Attaching the Siding
Nail the siding using a pneumatic nailer or by hand (using a hammer). Fiber cement siding can also be fastened using screws. Whether you choose nails or screws, ensure they are corrosion-resistant. The nails should be stainless steel or hot-dipped galvanized. Nails must penetrate through the sheath and go at least an inch further. They should also be positioned at least an inch from the edge. The siding can be face-nailed at the bottom using siding nails or blind-nailed at the top using roofing nails.
As with all the steps, it is important to read your manufacturer’s installation instructions. For example, here is an image from James Hardie® with guidance on choosing the right tool.
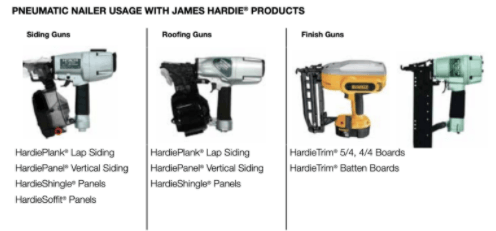
See more tools in the James Hardie® Best Practices Installation Guide for Texas
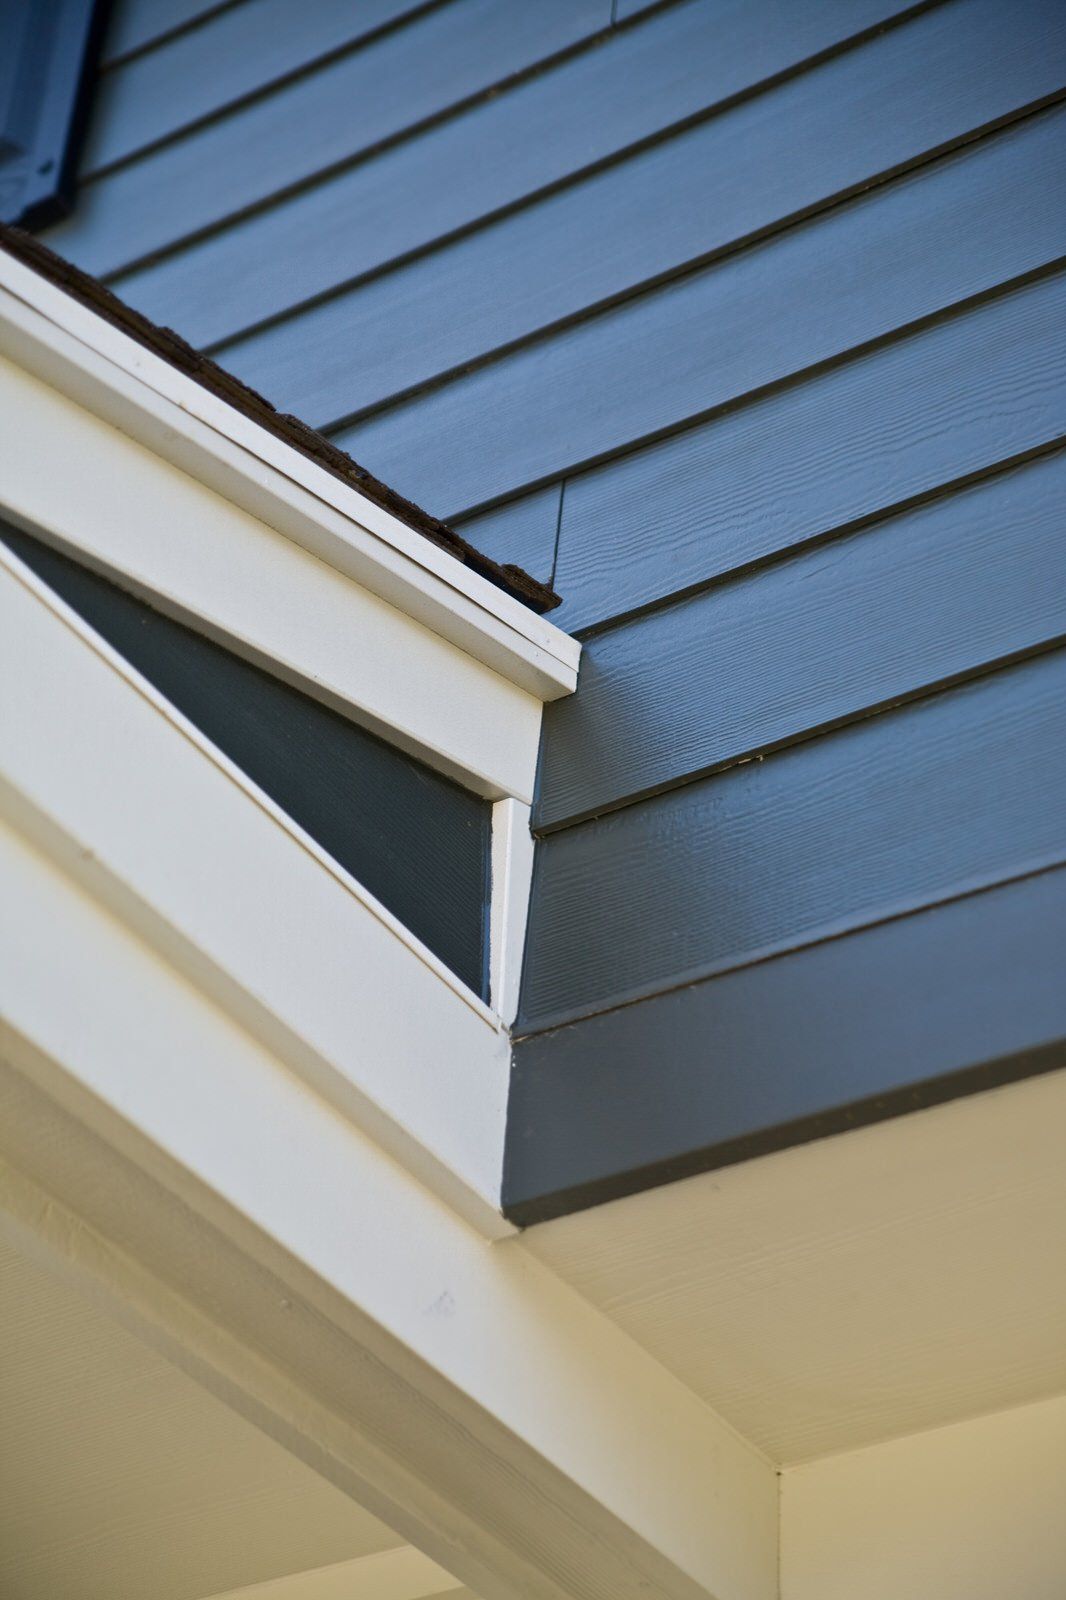
Step 6: Install Trim and Siding
When installing trimming, make sure the corners are 0.25 inches thicker or more than two stacked siding pieces to provide room for caulking. You can use trim made using vinyl, wood, or thicker fiber cement.
Siding should be installed 6 inches or more above grade level. Allow an inch or two more between surfaces like steps, decks, or adjacent roofs. Flash above windows and doors and leave a quarter-inch gap between siding and flashing. If you are installing on your own, you’ll need to overlap gauges to support the siding when nailing it.
Nail the first siding row into the studs while leaving a small gap (an eighth of an inch) at the corner boards for caulking. For proper angling, attach a siding strip measuring approximately 1.25-inches above the bottom of the first row. Consider blind nailing over face nailing to hide nail heads using the next row. You’ll need to predrill near the ends for a perfect installation.
Joints should be centered over studs. However, this can be overlooked when using special metal off-stud joiners. The felt should also overhang the previous row to stop rainwater from getting behind it when caulking fails. Every row of siding must overlap by 1.25-inches or more.
Step 7: Siding Installation Around Doors and Windows
When notching siding around doors and windows, hold the siding in place then mark each end. Determine notch depth by hooking a space stick on a previous row and measure from the door or window to the top of the space stick.
Step 8: Priming and Painting
Fiber cement siding can be bought ready to install in a variety of colors and stains. Siding can also be primed and painted on site.
If you need to paint your siding, do it immediately after installation. Factory-primed fiber cement siding can last for months without painting. Before you start painting, use a level or square to check if the rows line up perfectly at the corners. The siding should also be clean and dry.
Start by caulking ends and joints using high-quality latex caulking. Proceed and prime bare siding and exposed cuts, if any. Finish by painting using 100 percent acrylic latex paint.
Most importantly, follow the manufacturer's instructions when caulking, priming, and painting to ensure the siding withstands harsh weather conditions as designed.
Step 9: Inspections
Work is always improved when checked by someone else. Have a trusted person inspect your work. A lot of mistakes can be hidden behind siding and it is good to catch any mistakes and correct them before moving on.
Preview Construction employs an expertly trained project manager who visits each job site daily inspecting the work of our crews. We do this to ensure the jobs are done right -- even though we have trained our crews and we hire the same crew job after job.
How Long Does a Typical Fiber Cement Siding Installation Take?
It depends! The size of your home and type of siding you buy (pre-primed/pre-painted) are some of the factors determining how long installation will take. Two-story homes will obviously take more time than single-story homes. If the siding needs to be primed and painted, you’ll need a few extra days.
It also matters if the siding is installed by experts. DIY (Do-It-Yourself) installations take longer than necessary for obvious reasons. You must learn everything from scratch and account for errors. Bad weather and landscaping (that must be avoided) will also increase the time it takes to install siding.
Should You Install Fiber Cement Siding on Your Own?
Yes – if you trust your DIY skills, you can follow the instructions of the fiber cement siding manufacturer to the letter. However, some prior DIY experience isn’t enough. Siding warranty can be rendered void if the installation isn't done expertly. What's more, you need the right tools to get the job done well.
For starters, you’ll need a circular saw, OSHA compliant dust extractor, tarps, shears, jigsaw, chalk line, caulk gun, drill bit set, dust mask, cordless drill, level, hammer, stapler, safety glasses, speed square, and tape measure.
You'll also need a helping hand to ensure your rows line up perfectly. Most importantly, you need time and patience. Otherwise, you are better-off hiring fiber cement siding installation experts like Preview Construction to get the job done for you fast and easy.
While DIY installations are tempting for several reasons, including cost savings, sometimes you might just wish you hired someone who installs fiber cement siding day after day after day.
Preview Construction is a James Hardie Preferred Contractor in Texas.
“Preferred contractors consistently demonstrate high standards in quality, professionalism, and customer satisfaction.”
Because we are a preferred contractor our customer’s project details such as: job location, customer information, material size and quantity to purchase location is uploaded into James Hardie's system.
How does this help you, our customer? This database of project details provides ease-of-access in case of future product or installation issues.